Driver app guide: from first stop to proof of delivery
11 steps5 min read
Share this guide with your drivers. It takes about a minute to learn.
In this guide
Step 1: Sign in once
Open the sign-in link your dispatcher sends by SMS, scan the QR code, or enter the username and password your company gave you. From then on, the app finds each day’s route on its own. Once you have chosen your own password, links from your dispatcher ask for it (your username is filled in).
Tip: Drive for another company too, or share the phone? Tap your avatar at the top right, then Add another account. Tap the avatar again to switch; a notification always opens the account it is for.
Step 2: Load the van
If your company asks for a load check, Load the vehicle opens before you start: load the last stop first, then scan each package label with the camera, or tick each stop on the list. A package from another driver’s route is flagged as Wrong van at once: keep it aside. Not everything there? Finish with the reason.
Tip: A damaged label? Tick “Loaded without scanning”.
Step 3: Start with the next stop
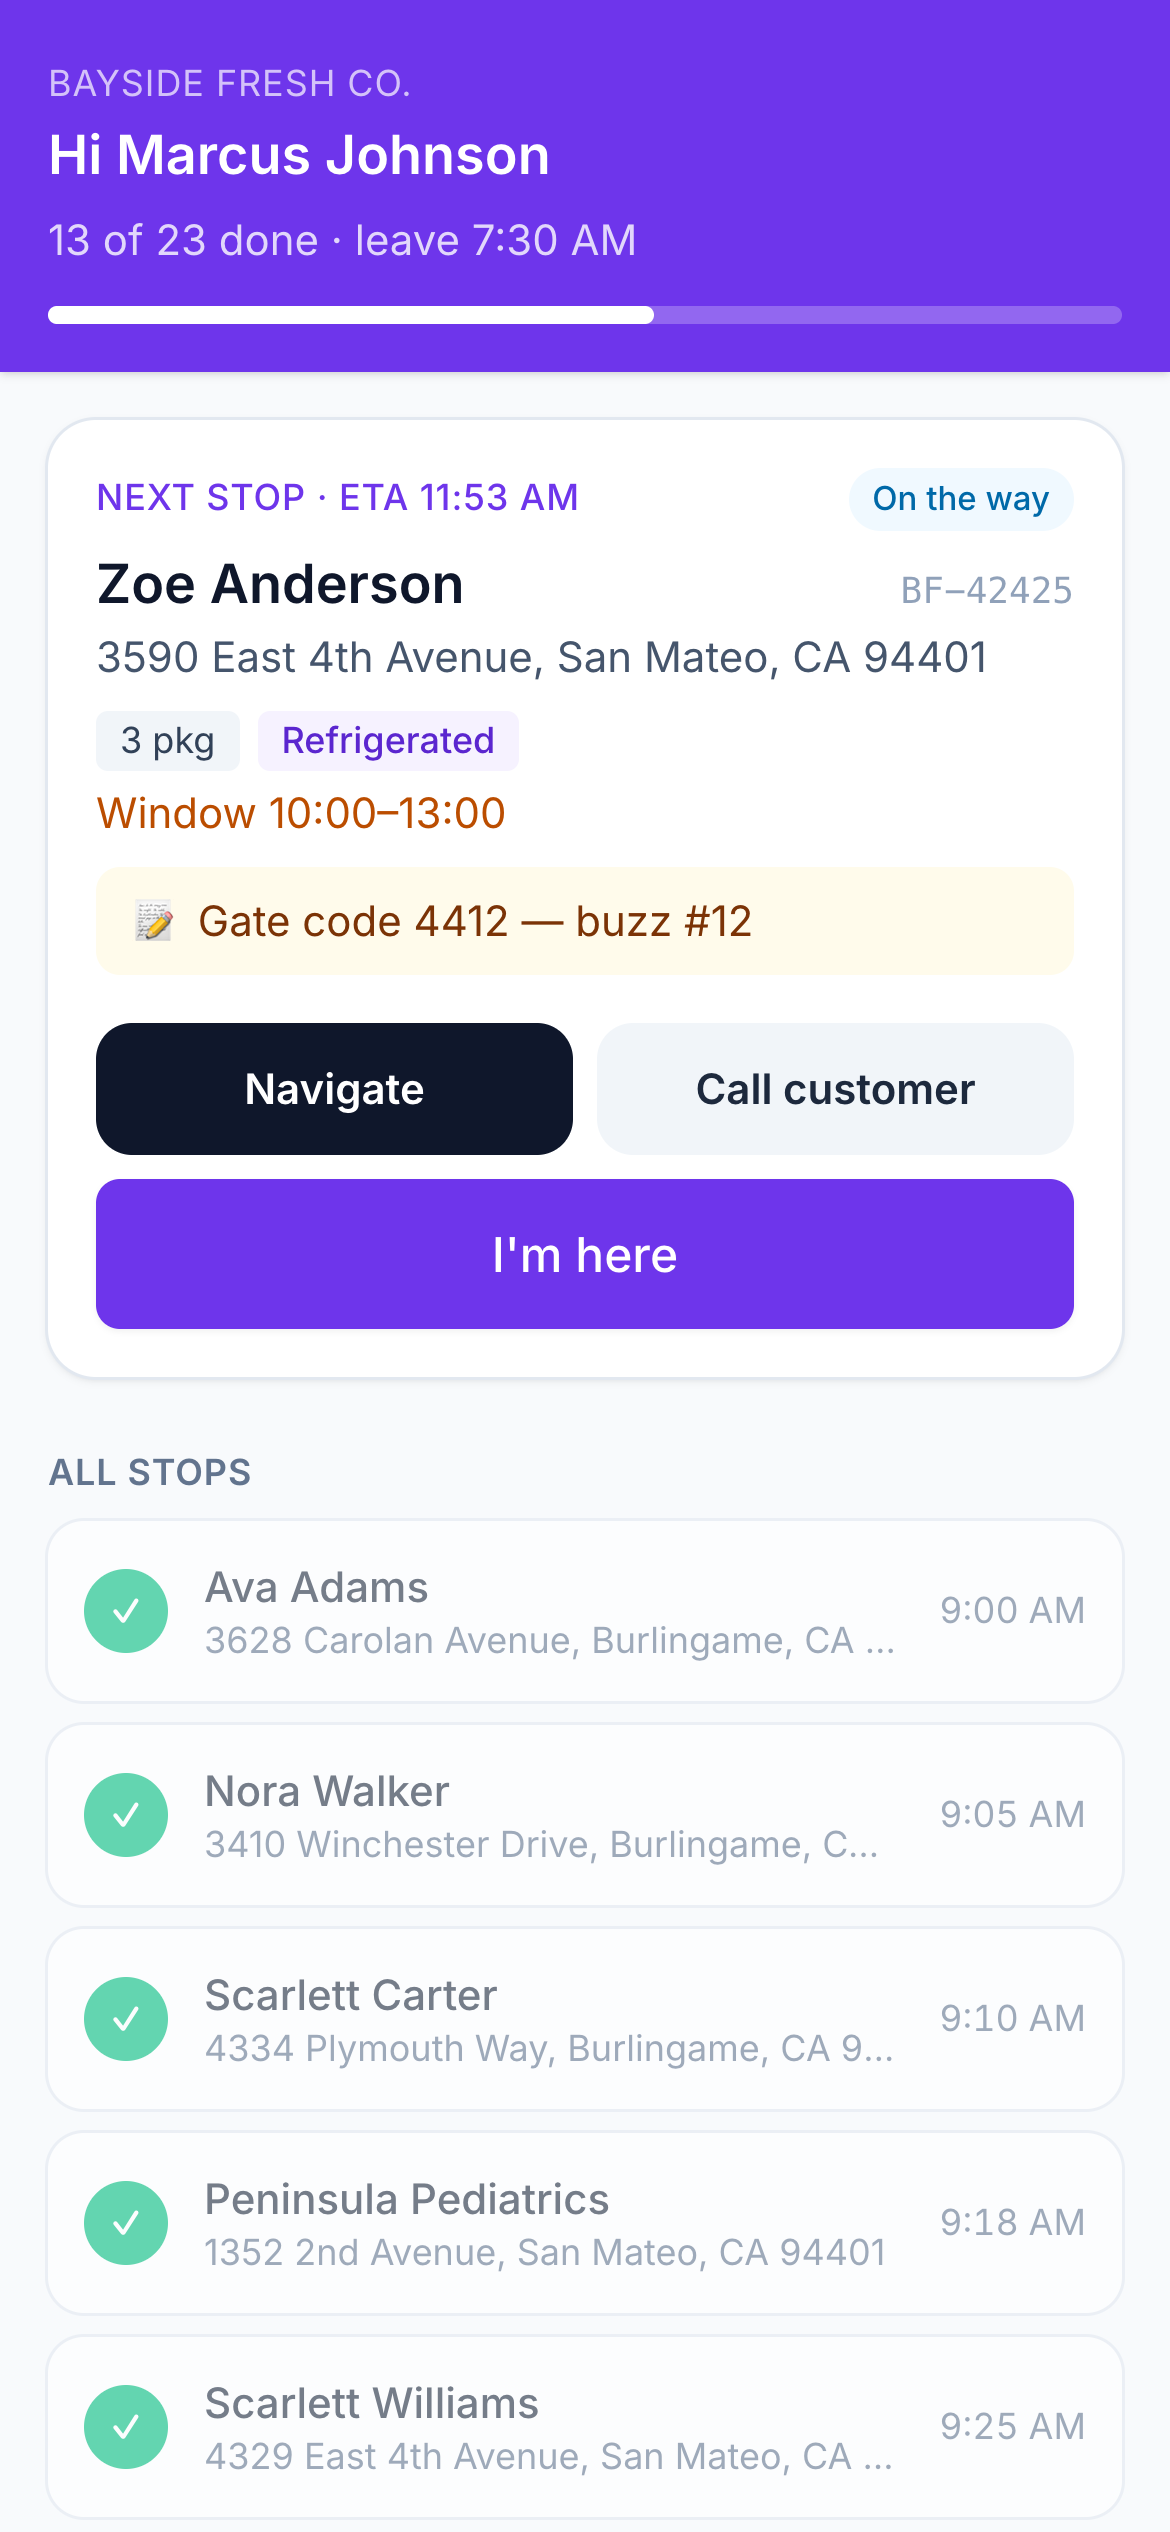
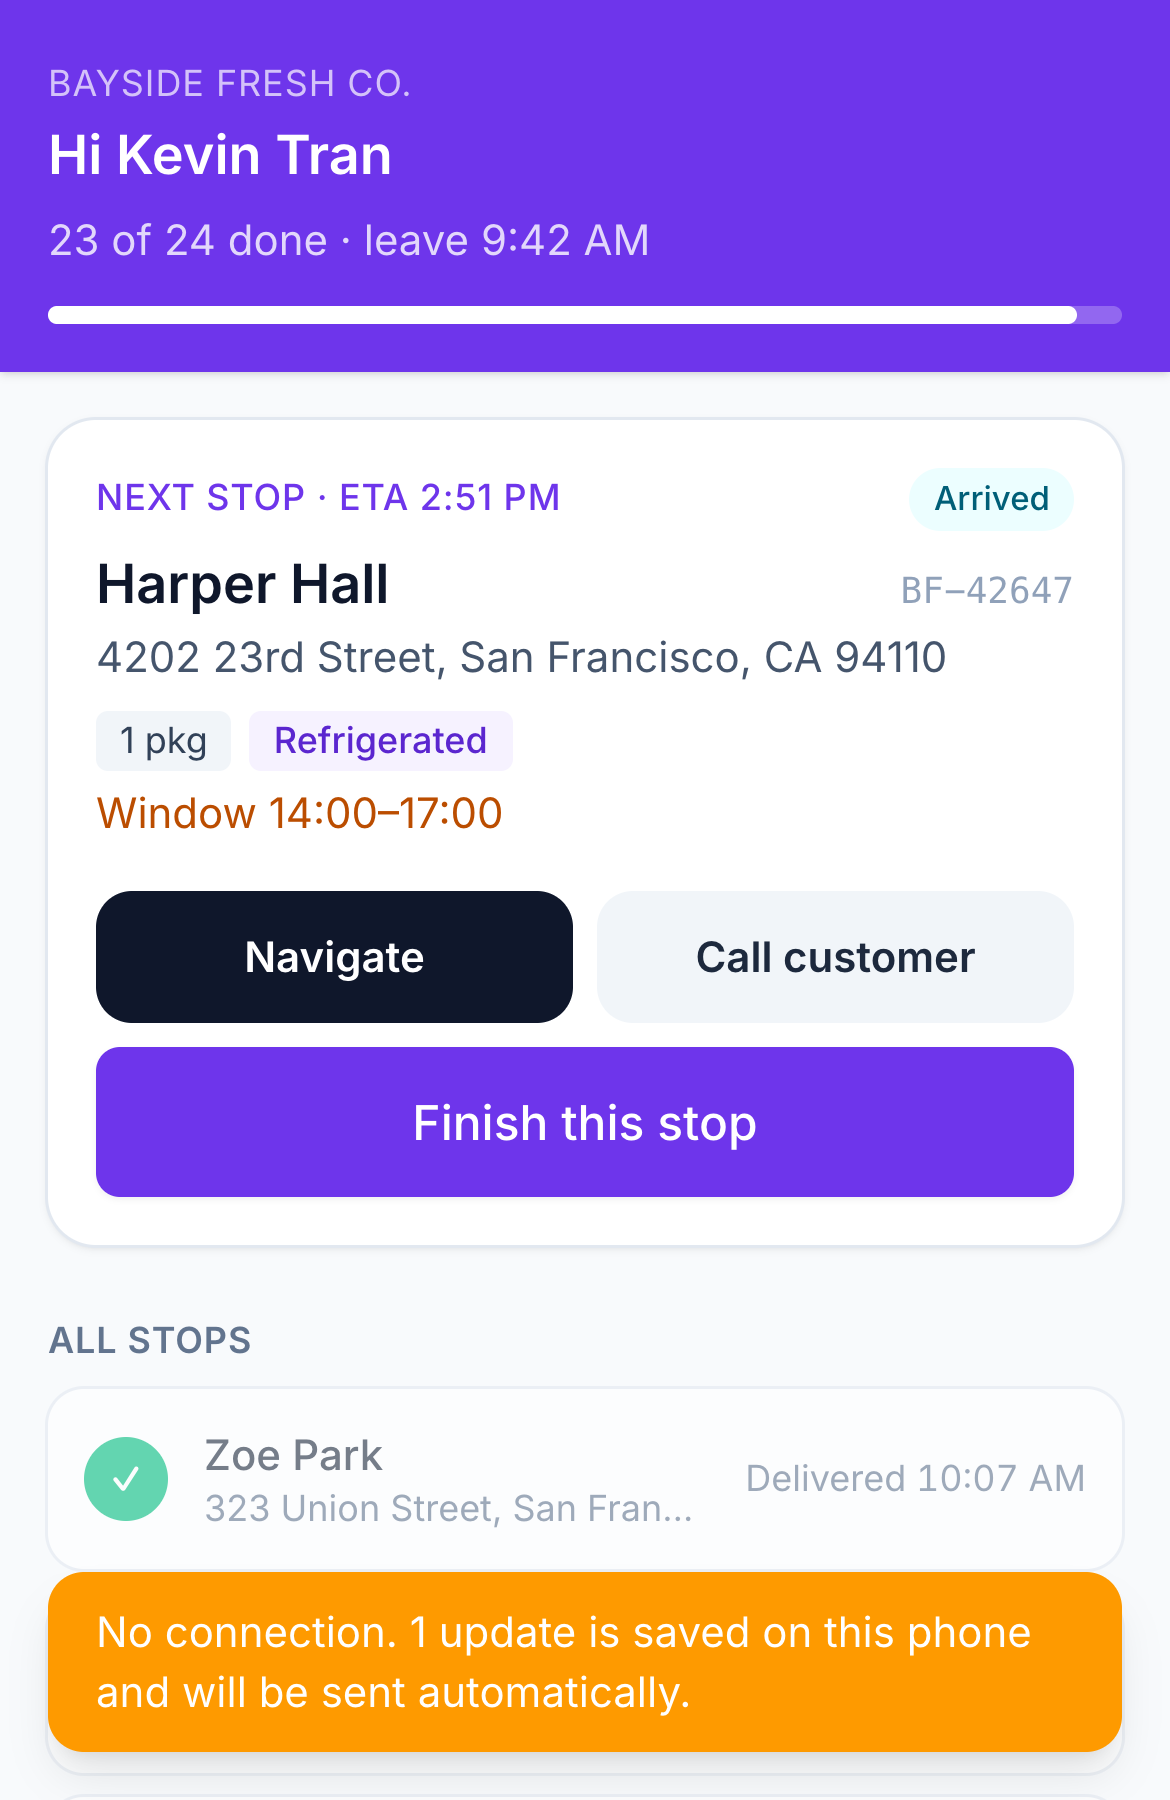
The first screen is always the next stop: name, address, time window, packages and notes.
Step 4: Navigate
Tap Navigate to open Google Maps, Waze or Apple Maps. The app keeps sharing your location while you drive.
Step 5: Arrive and deliver
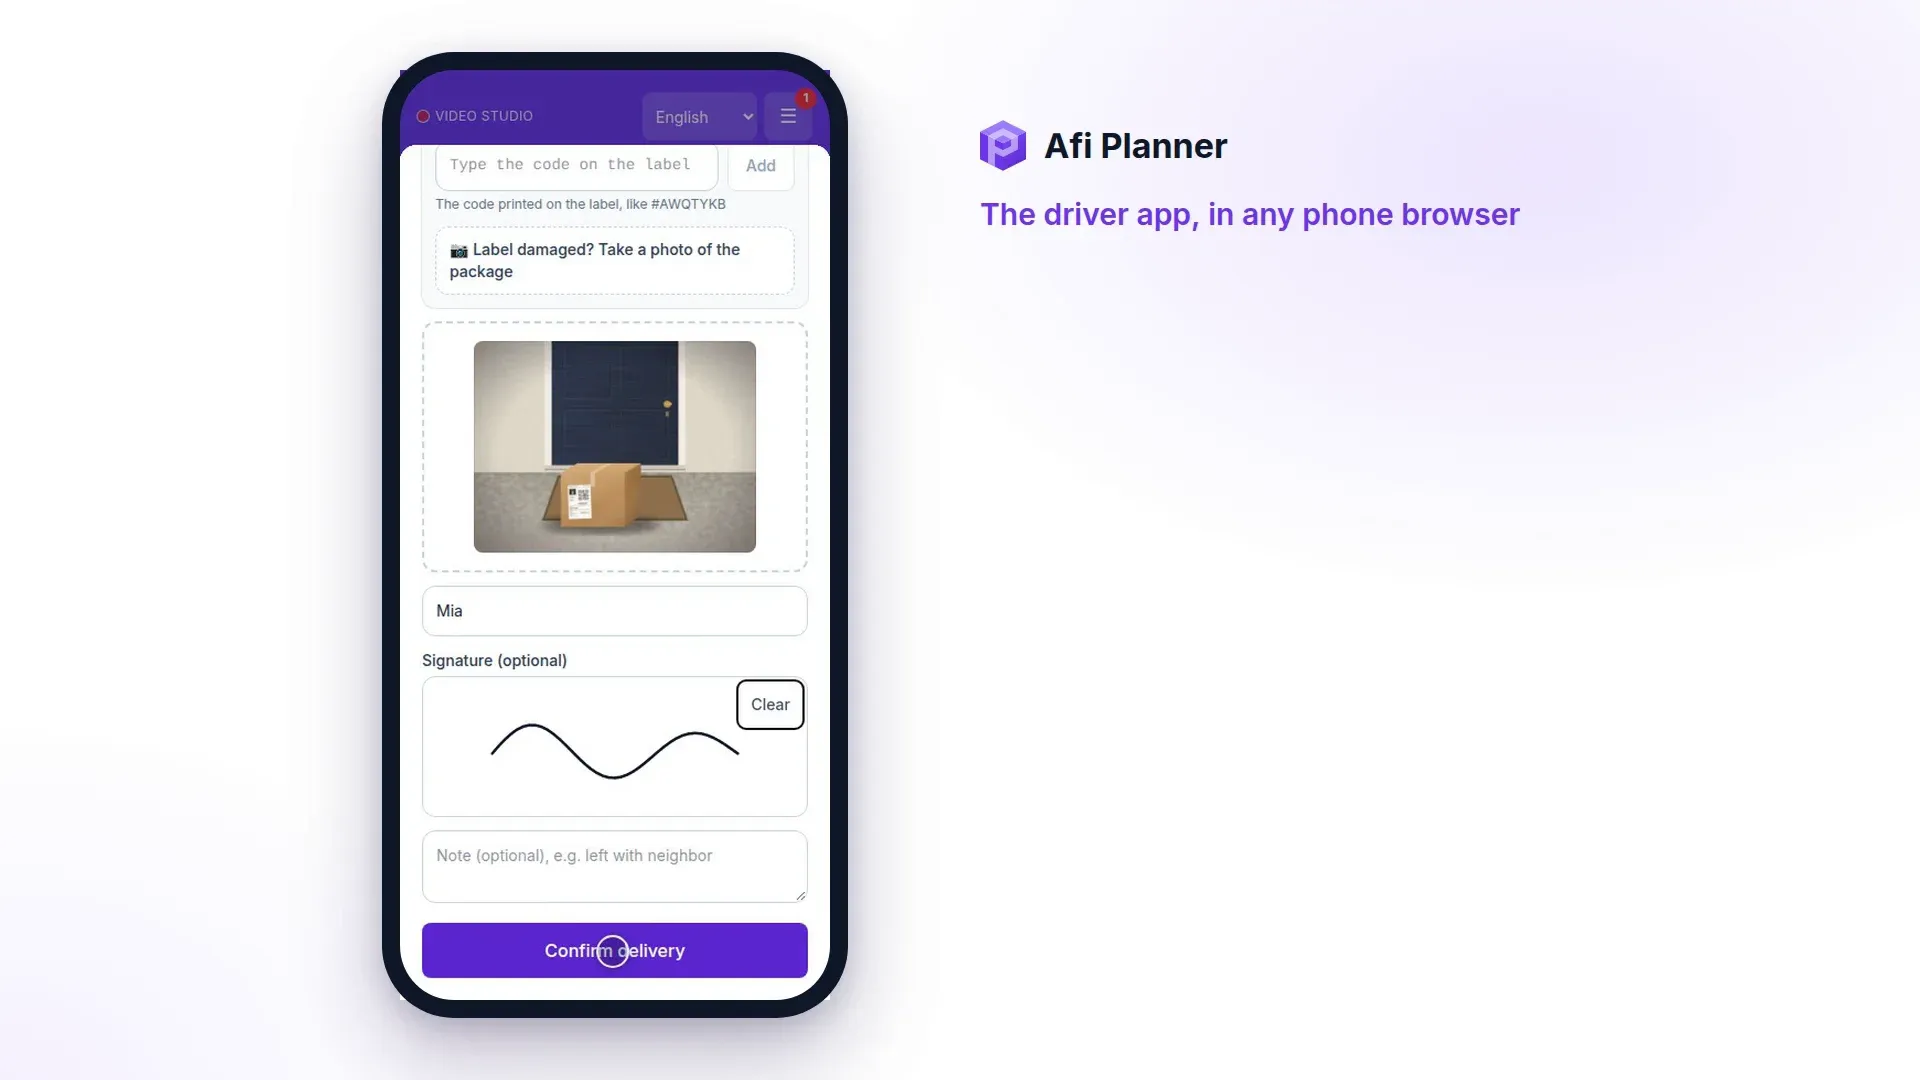
Tap I’m here (or let the app mark it when you arrive), then Delivered. Add a photo, signature or recipient name when asked; when the customer asked to leave it at the door, take a photo of where you left it instead of a signature. If you can’t deliver, choose a reason.
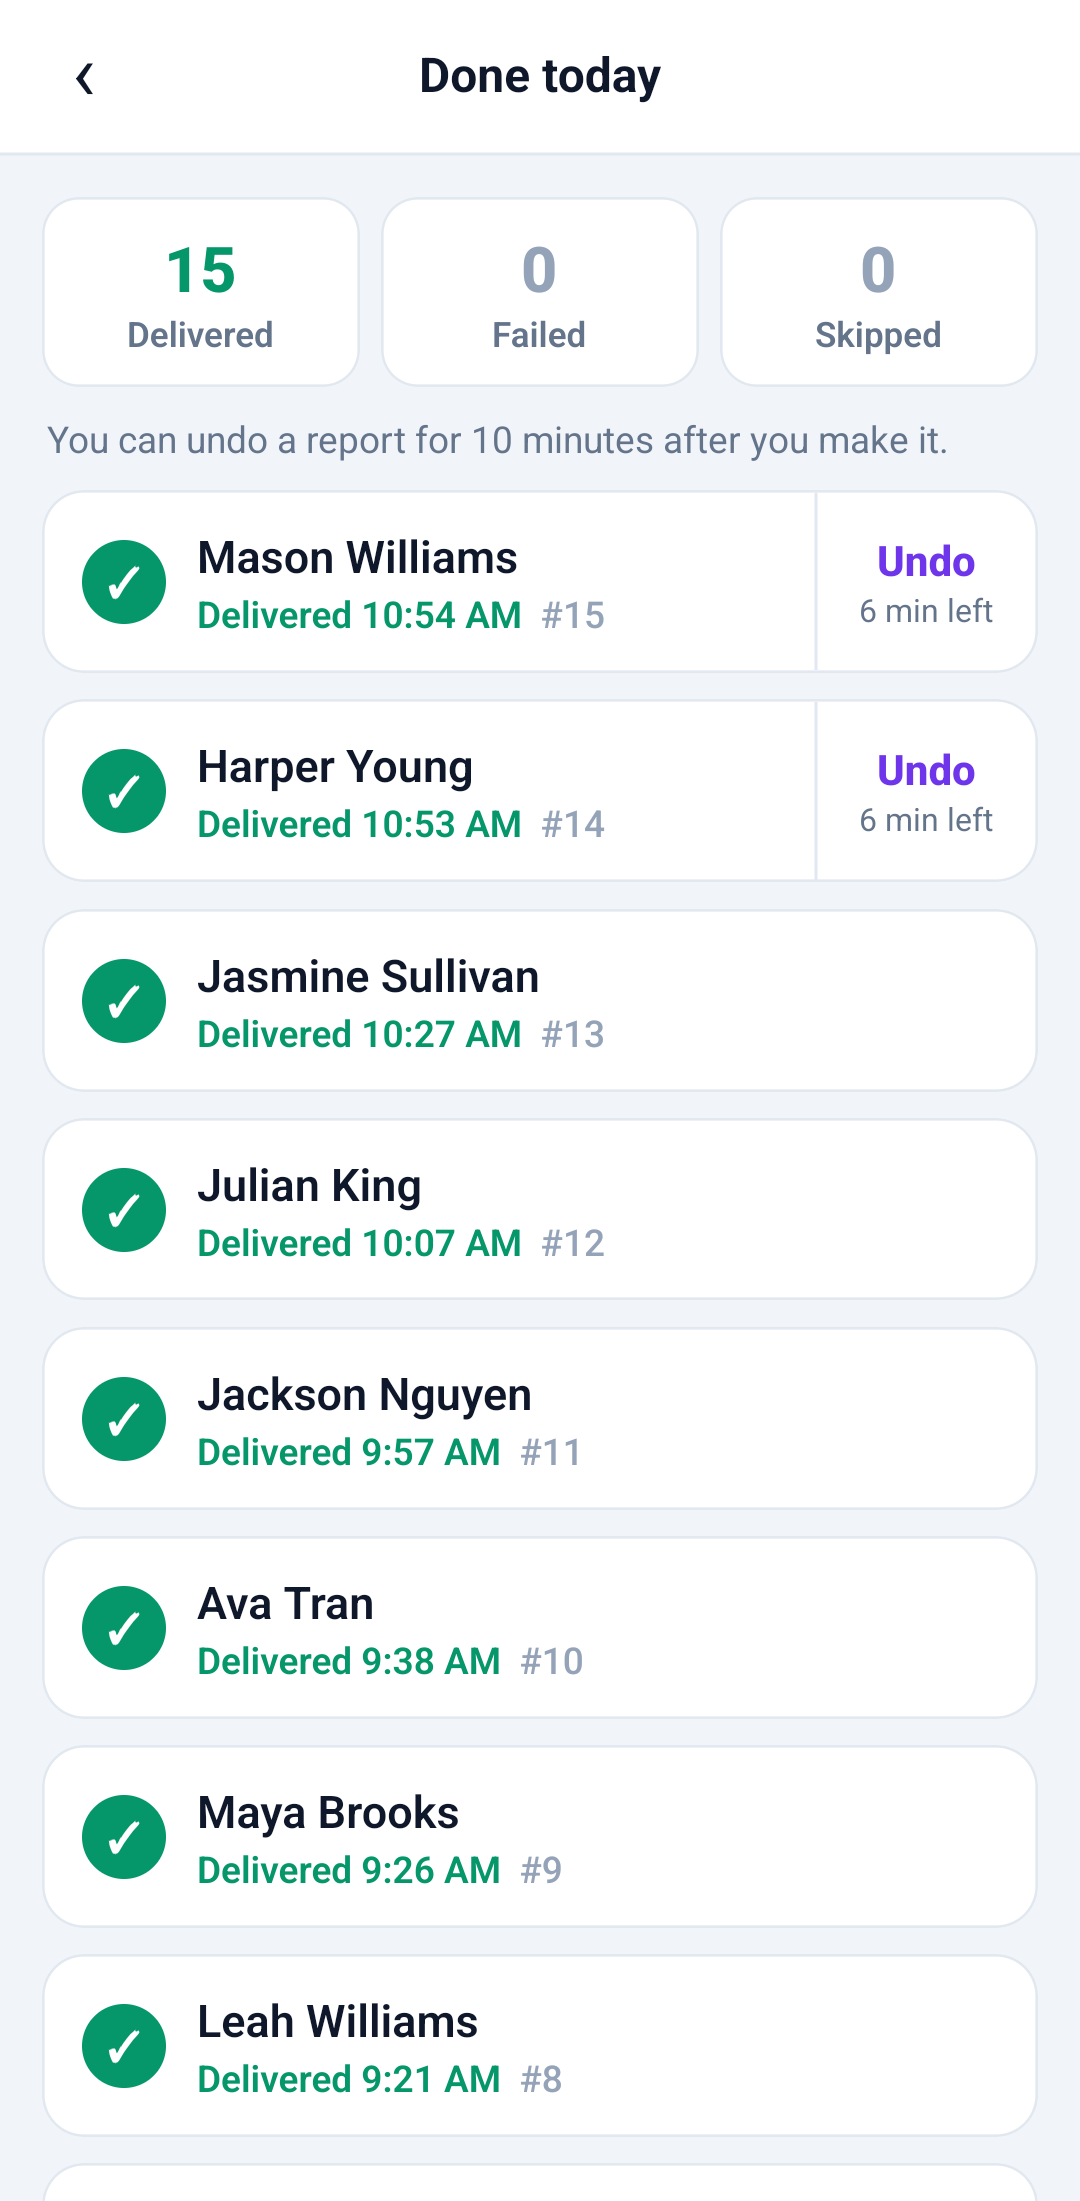
Tip: Tapped the wrong button? Tap Undo on the bar that shows right after a report. Later, tap “N of M done” at the top to open Done today and undo there for 10 minutes.
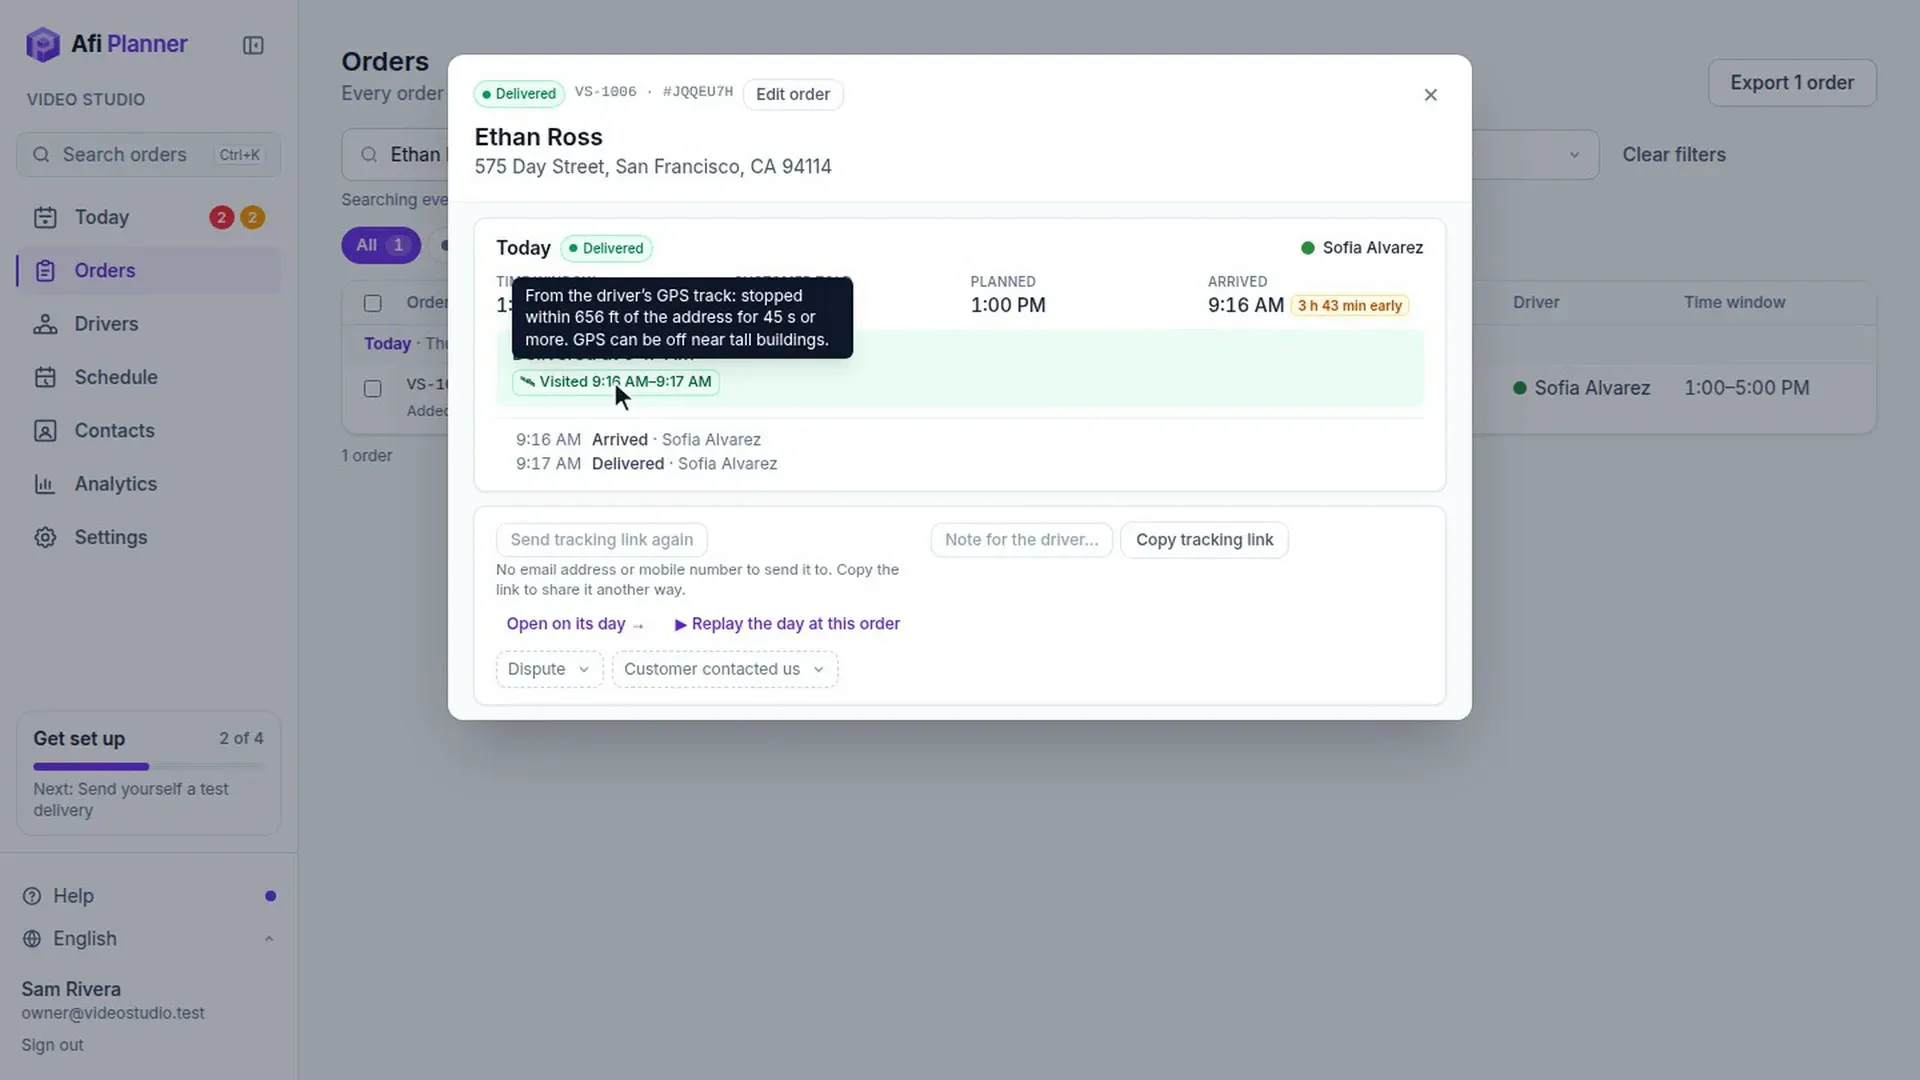
Did the driver stop at the address? · 47 s, no sound Step 6: Watch for changed instructions
If the customer changes the delivery instructions, you get a notification and the stop shows “Changed by customer” with the new instructions in bold.
Step 7: Need help? Tell dispatch
Tap Need help and choose what is wrong: vehicle broke down, running late, safety problem, package problem or something else. Your dispatcher gets it with your location and current stop, even if you have no signal right now. Their answer shows in the app: tap OK so they know you have seen it.
Step 8: Taking over from another van
If dispatch sends you to take over from a driver who can’t go on, your route starts with “Collect N parcels from …’s van”: where that van was last seen, Navigate to the van, a button to call the other driver and the orders to take. Tap I have them once the parcels are in your van. Orders still at the depot show as a “Pick up at the depot” stop on your route.
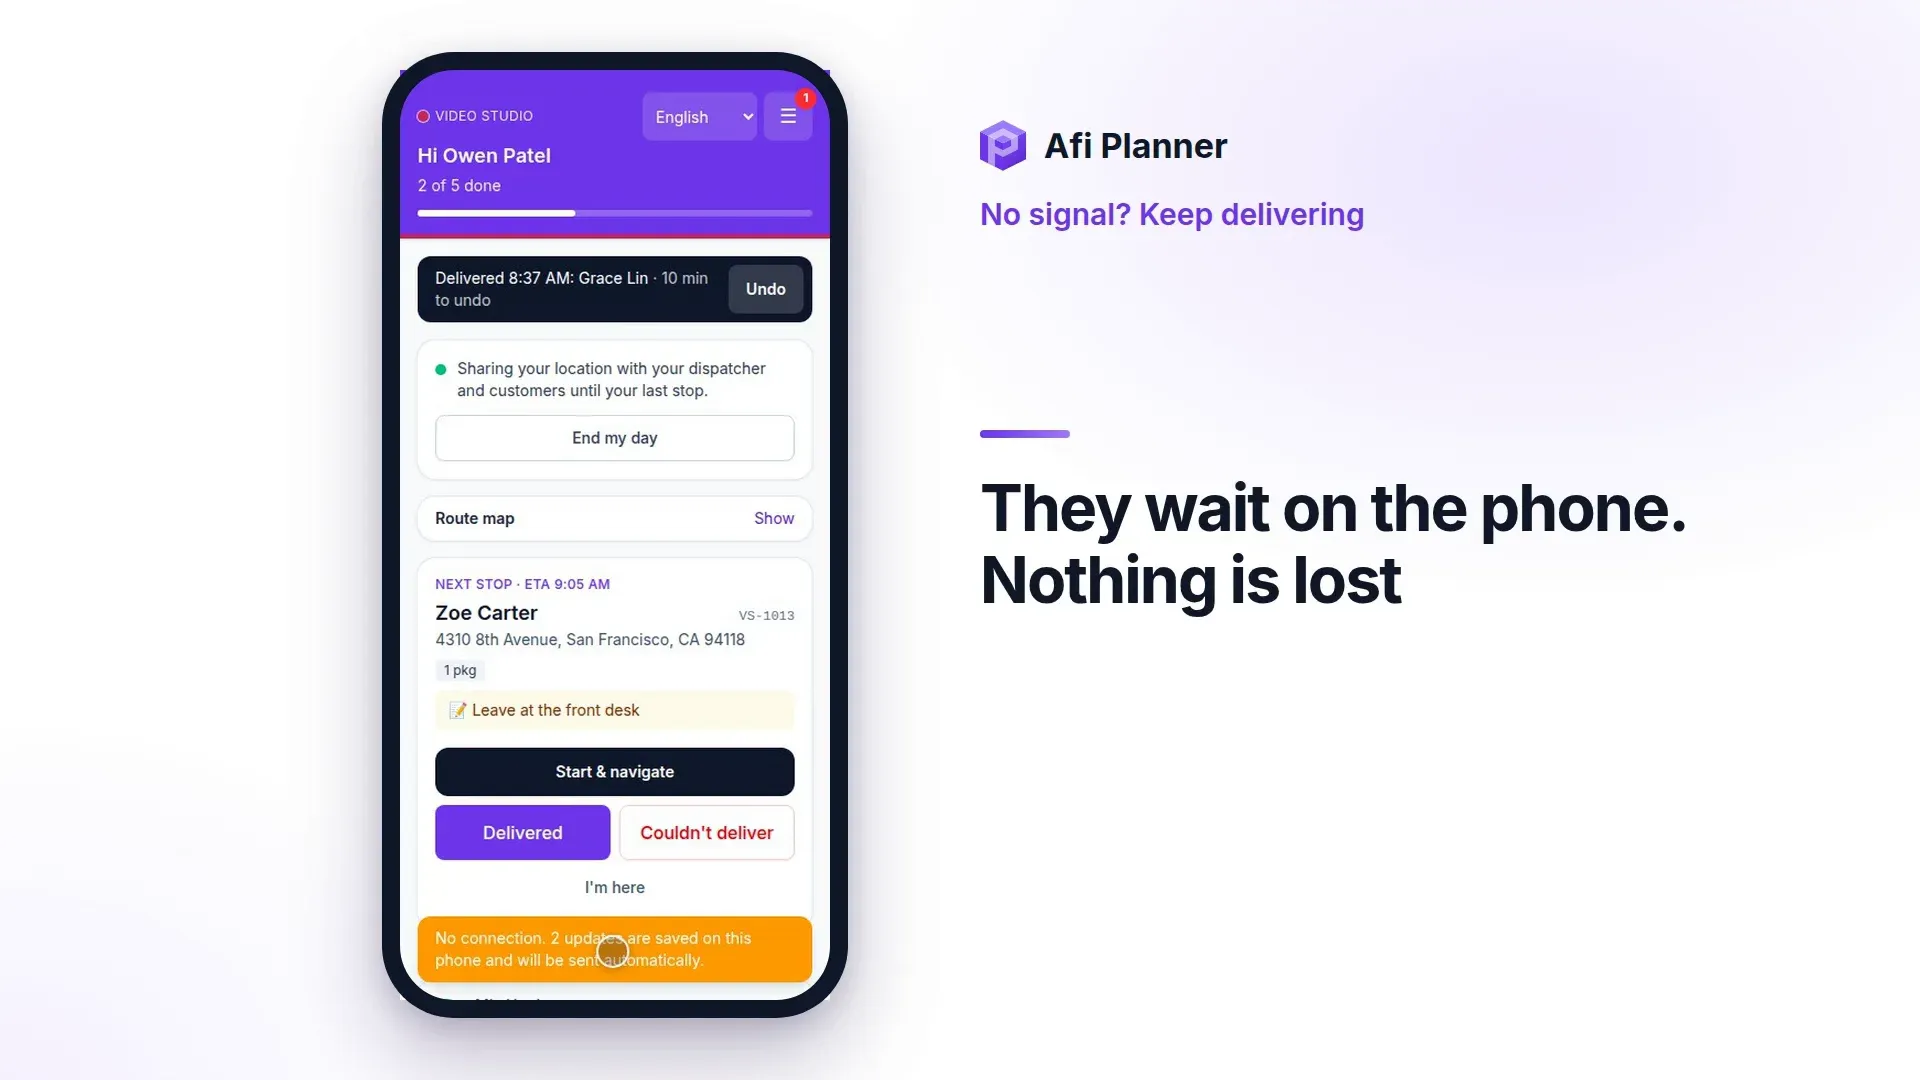
Step 9: No signal? Keep going
Everything is saved on the phone and sent in order when you are back online.
No signal? Keep delivering · 44 s, no sound Step 10: Look back at earlier routes
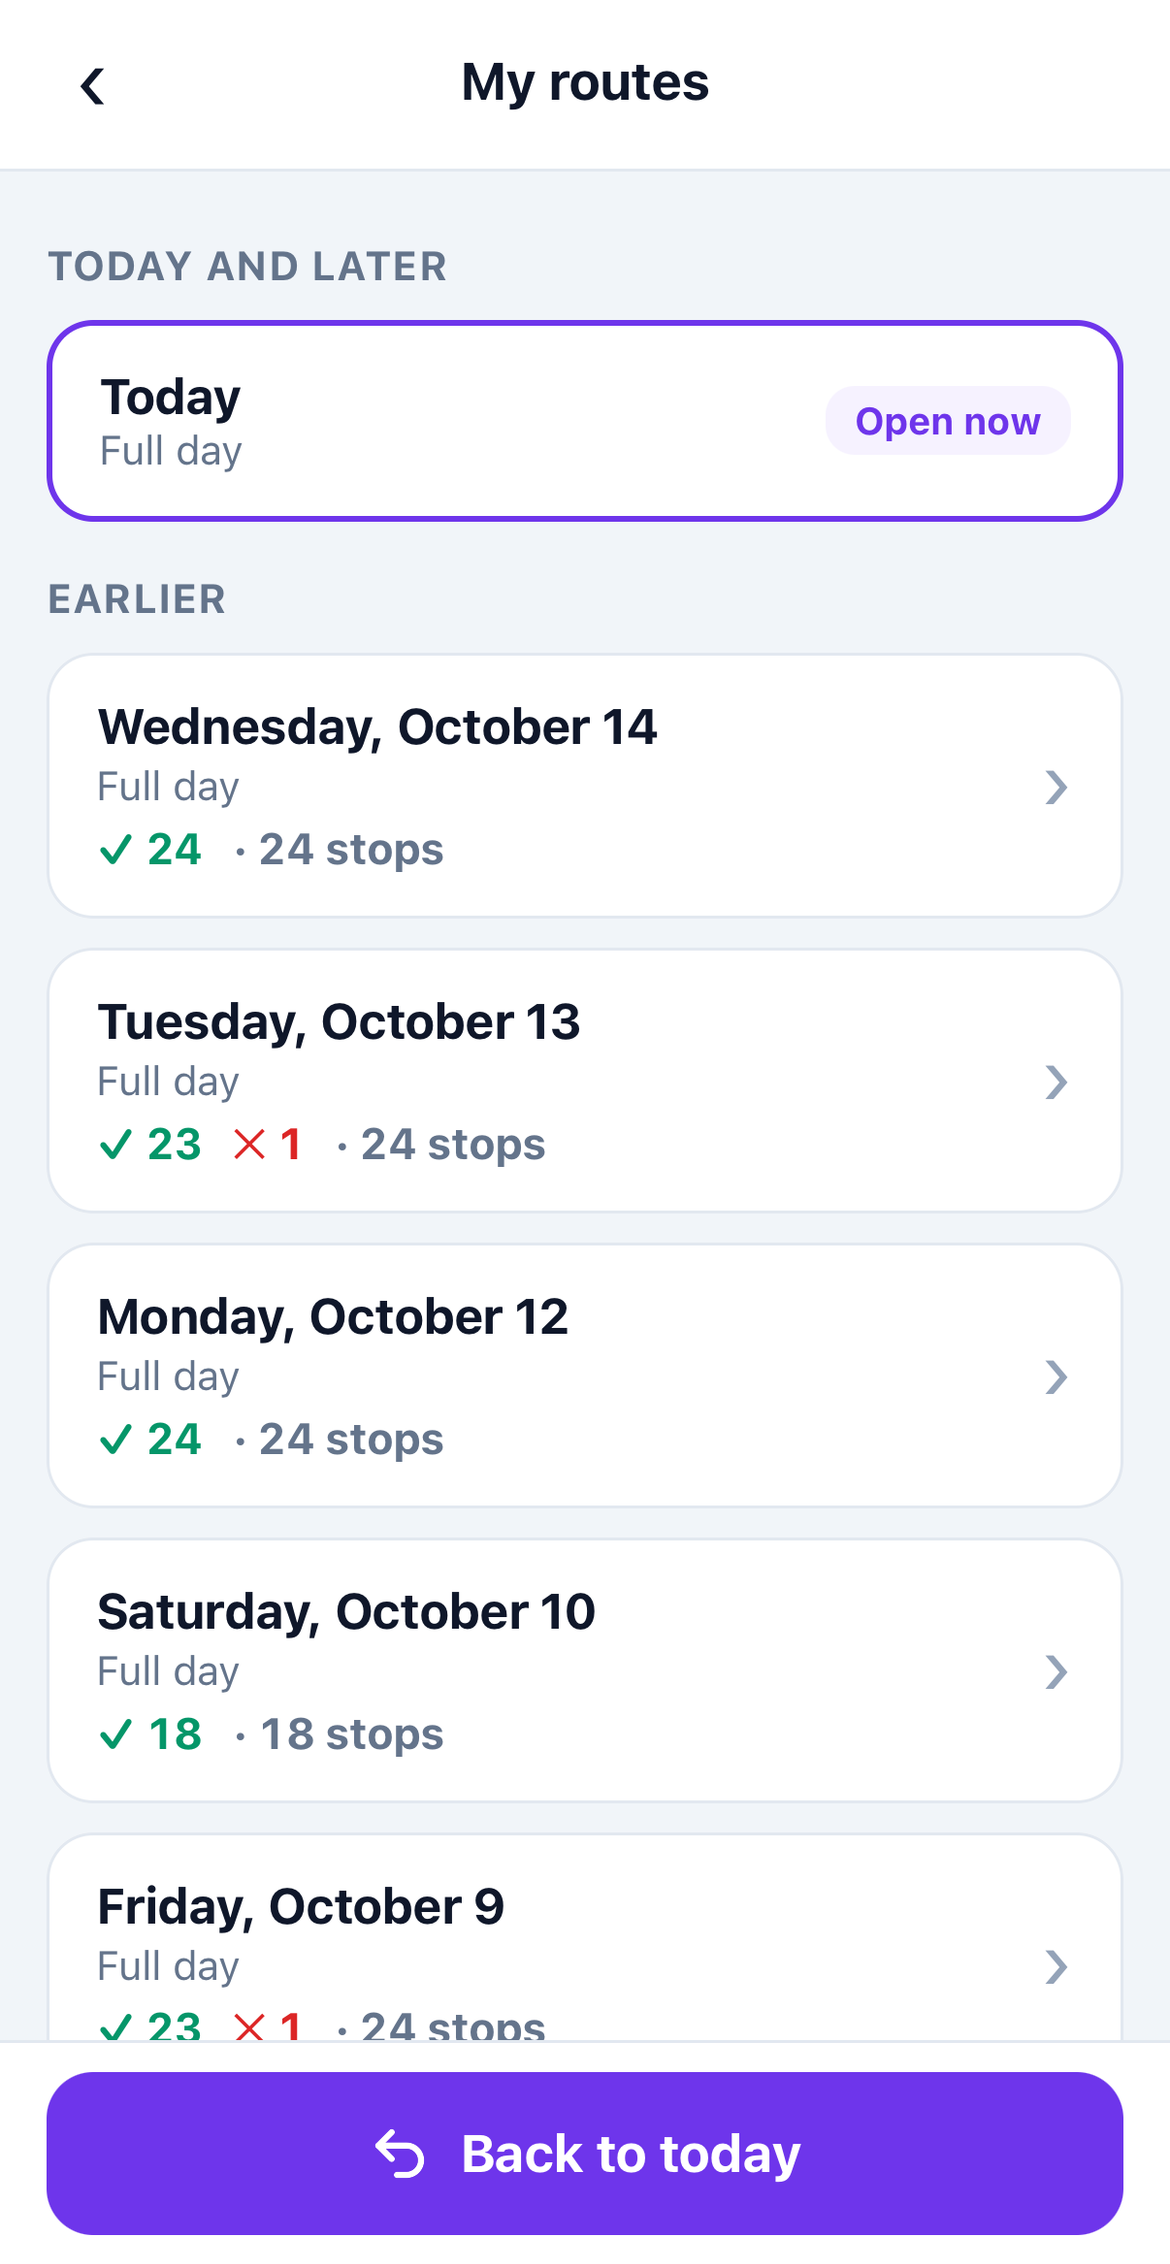
Tap ☰ More at the top of your route, then My routes. Open any earlier day to see each stop’s outcome, time, photos and signature. Tap Back to today to return to today’s route.
Step 11: See how you are doing
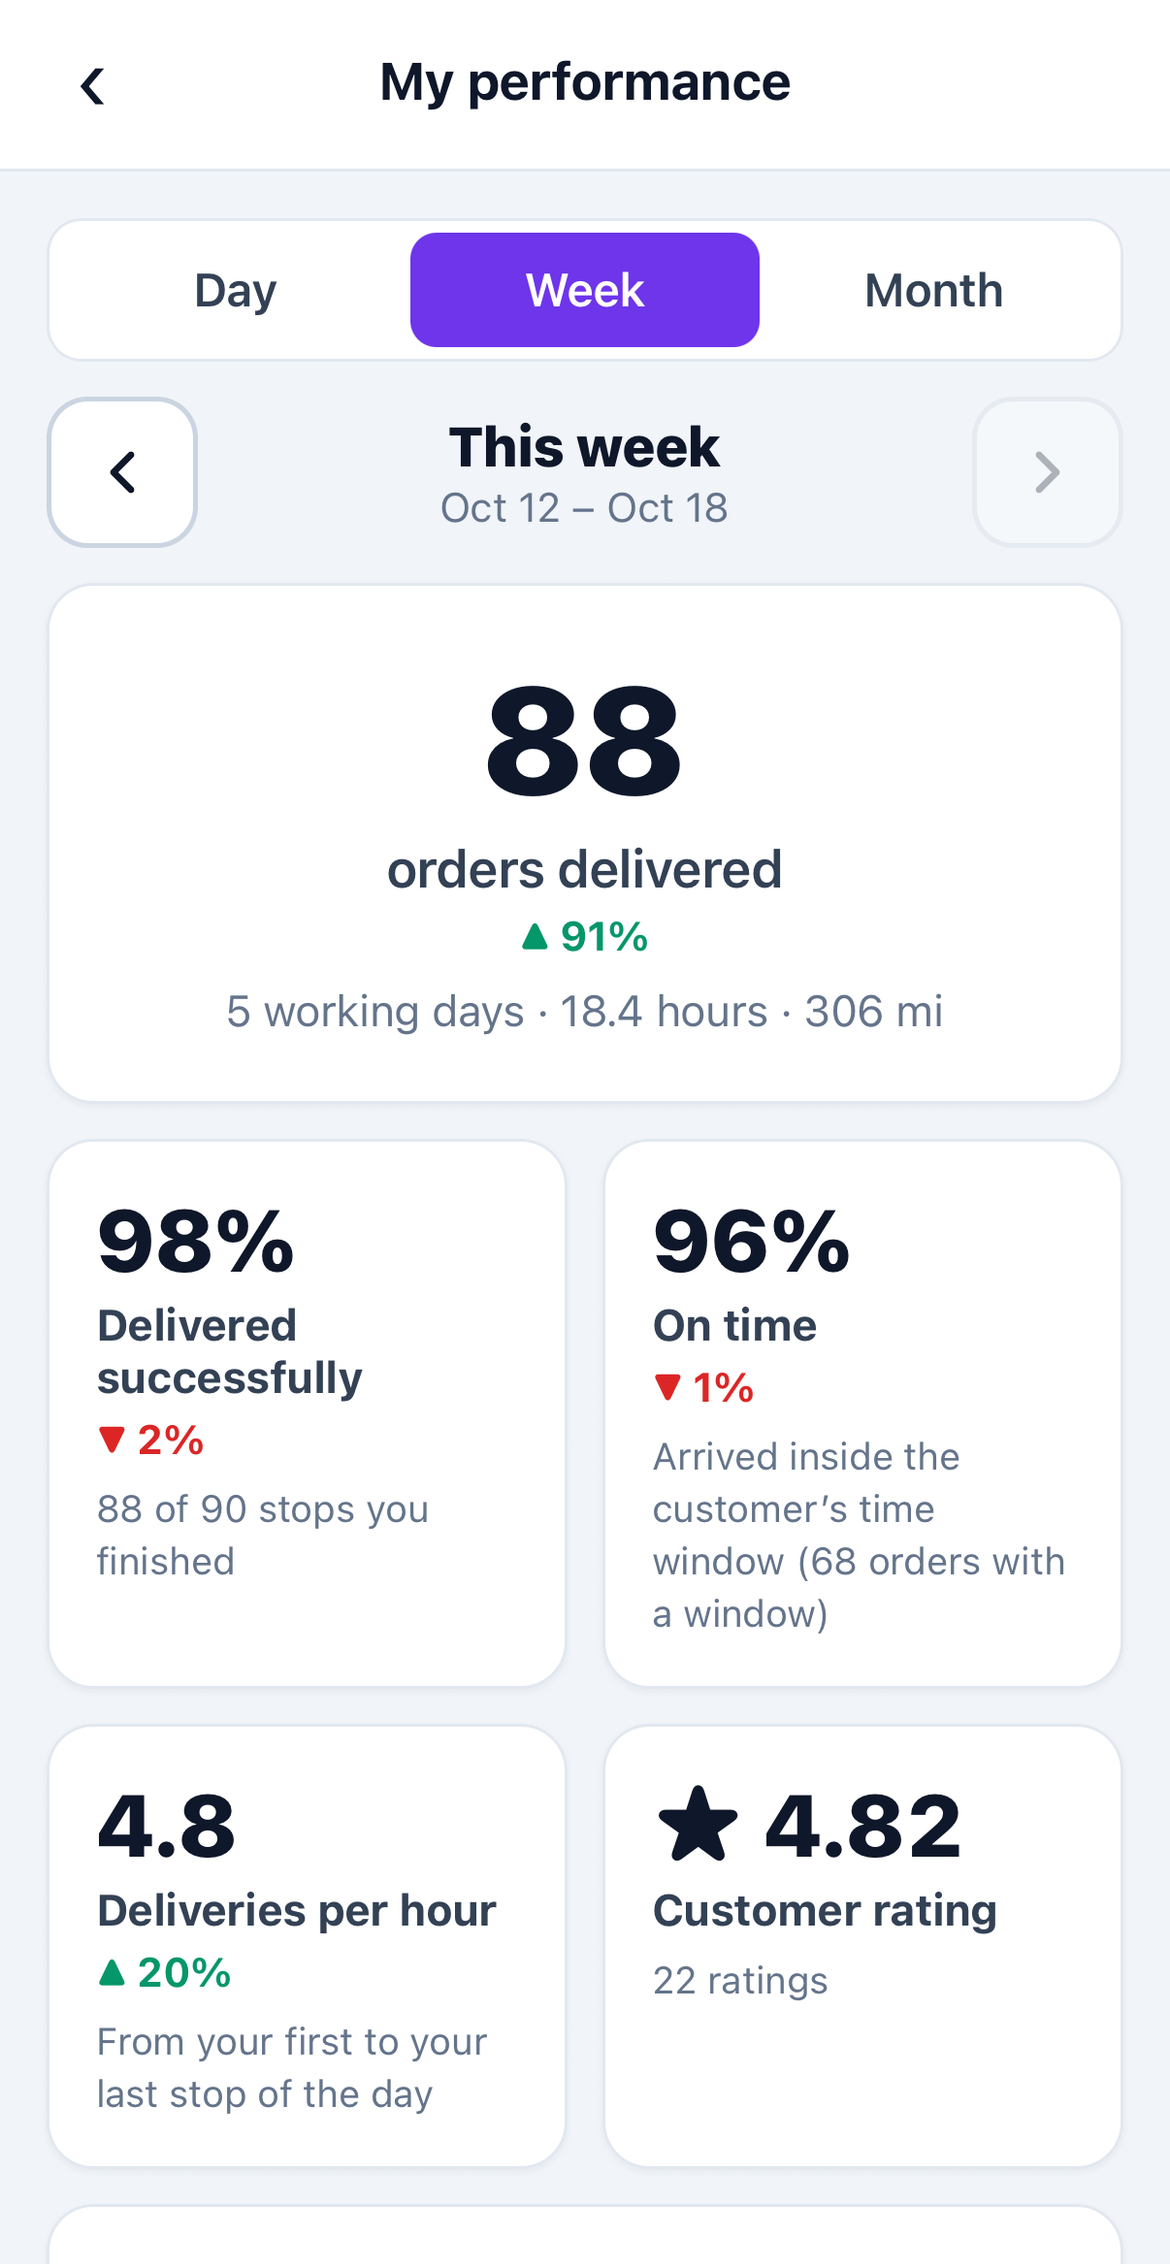
In ☰ More, tap My performance and choose Day, Week or Month. Use the arrows to look at earlier periods.
Related feature
A driver app built for the curb, not the office →